
VirtualBox is a popular free virtualization option for the one-off test machine. If you would instead like to gain a little formalization to your virtualization or just want exposure/experience to Microsoft’s Hyper-V, it is included with Windows 10 Pro and Enterprise SKUs.
Pre-requisites
To use Hyper-V, you need:
- 64-bit version of Windows 10 Pro or Windows 10 Enterprise.
- Virtualization enabled in your BIOS/firmware
- CPU support for SLAT (Secondary Level Address Translation)
You can find which edition of Windows 10 you are running by checking the System properties. Right-click on the Start button and choose System. On the window that pops up, look for Windows 10 Pro or Windows 10 Enterprise under the ‘Windows edition’ section.

To check whether your CPU supports SLAT, you can download and run the SysInternals tool CoreInfo from the Administrator command line. Elevate CMD and run coreinfo.exe -v. You’re looking for the EPT line to have an asterisk indicating support for Intel extended page tables (SLAT) or NP for an AMD CPU indicating support for AMD nested page tables.

Setup
Installing and using Hyper-V is pretty clear. You just have to know where to look. To install Hyper-V, open the Control Panel and choose Programs and Features. Then ‘Turn Windows features on or off’ and check the Hyper-V tree. Click OK and let the setup finish. At the end, allow it to restart your computer.

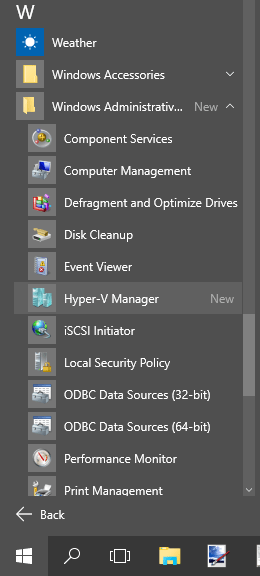
Once the computer comes back up from the restart, you can find the Hyper-V Manager on the Start Menu/All Apps under Windows Administrative Tools.
The Hyper-V Manager is a classic Windows MMC snap-in. This makes the interface already pretty familiar. You have your VM hosts available on the left side, actions on the right, and content in the middle. You can right-click on your computer in the left pane and choose Hyper-V settings. That allows you to review core settings like the location for virtual hard disks, VMs, GPU, keyboard+mouse integration, and so on.
When you click on your server, you will find the right pane for Actions enables many actions such as the Virtual Switch Manager and Virtual SAN Manager. Go through these to use these components with your VMs. For example, you can create an External, Internal, or Private network switch to allow your VM to access the physical network adapter on your computer, other VMs and the host computer, or just other VMs, respectively.

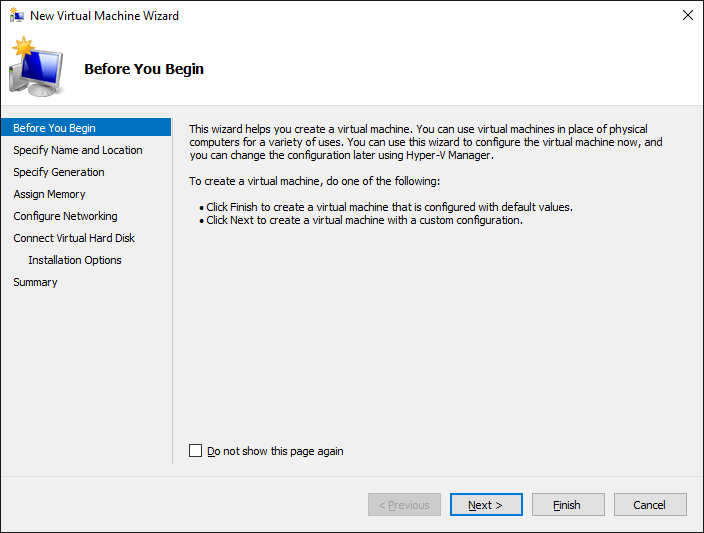
Once you have reviewed the Hyper-V settings and configured your network and other options to your liking, you can create your first virtual machine. Right-click on the server and choose New > Virtual Machine…

The New Virtual Machine Wizard is very straight-forward. It asks where you would like to store the VM, its hard disk, generation 1 or 2 type of VM, how much memory, which network switch to plug into, and your virtual hard disk options, which also includes booting from an ISO to install your operating system.
Once you finish the wizard, you should find your new machine in the middle pane. You can right-click on it to Start it up and Connect to view it through the console.

From there, you have your first virtual machine through Hyper-V on Windows 10. You can explore using your virtual machine to its fullest such as using checkpoints to provide backups to configuration changes and other neat features of virtualization.